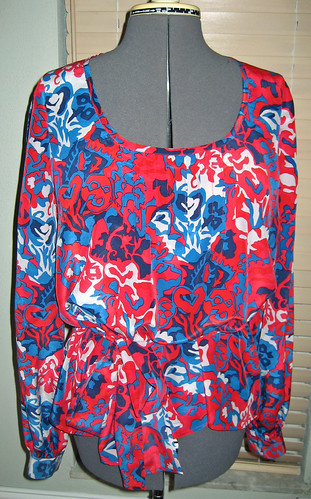
All done but the hem, anyway! This is such a pretty style. It is simple but the sleeves make it different and special. I did have a couple of issues, though. First, the neckline was too high and made me look like I had a big, heaving bosom. It’s hard to tell from the photos but I actually took the neckline down by over an inch, ending about 5/8″ above the yoke seam tapering to nothing about 1″ in front of the shoulder. It’s a much more flattering look for me and I’m happy I took the time to “make it work”.
Here’s the before:

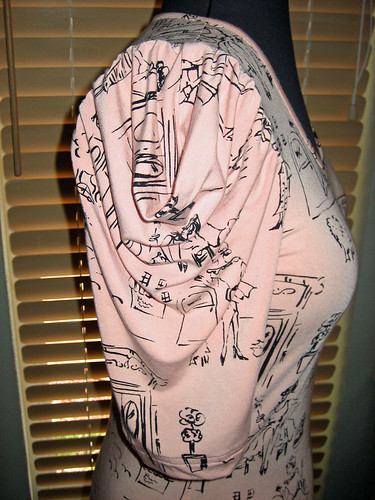
Phyllis suggested I use the pink section of the fabric for my neckline binding and, I have to say, she was so right. I like it much better!
The after:

The other issue I had was with the sleeve. For some odd reason (which I didn’t notice until after I had finished cutting), the inner sleeve is the same length as the outer sleeve. For it to bubble properly it really needs to be a little shorter than the outer sleeve so before I make my dress I will lengthen the outer sleeve .25″ and shorten the inner sleeve by the same amount. Also, the instructions have you understitching the seam allowances to the undersleeve. I didn’t do that because I didn’t want to stiffen the seam and lose some of the drape of the sleeve.
I can show you the fabric I am going to use for the dress now that my cut has been secured. It’s Italian Rayon Florida Knit – Jewel Tones from Gorgeous Fabrics. Hurry, it’s on sale and there are only a few yards left!

What’s next? Well, tomorrow is September 1st (how did that happen?) and I’m a little freaked out because I still have 5 jackets to complete by the end of the year. Aye! And then there’s the Big Bow Skirt and the dress from the September Burda Style and the Knip Mode skirt and, and, and. It’s official: there is never enough sewing time.