
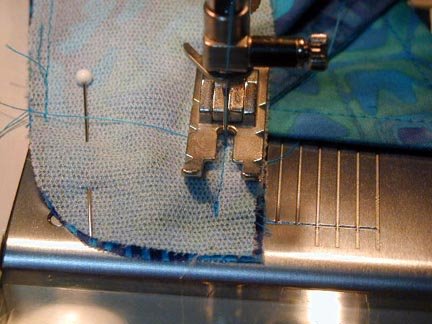
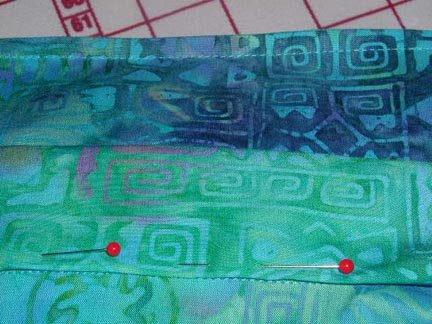
Today we are going to finish up the band. Pin the outer band onto the inner band, right sides together. As you can see in the photograph, I have carefully tucked the front edge of the shirt up into the bands. This will allow me to stitch around for a nice neat front edge. I’m normally not big on pinning but, in this case, it helps to keep the layers in position.

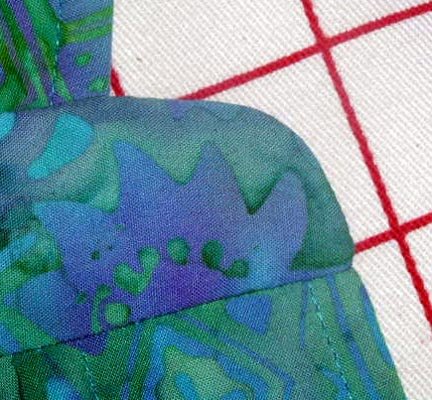
Here is where your accuracy in attaching the inner band will pay off. I begin my stitching about 3/4″ in from the front edge (or as much as the fabric will allow – sometimes more, sometimes a little less) and pivot exactly where my previous stitching ends.
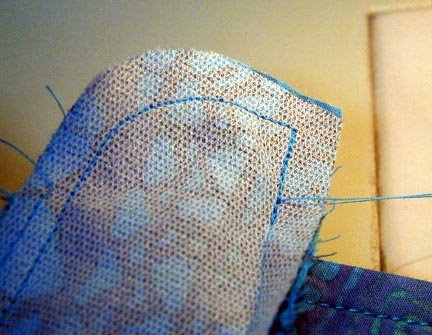
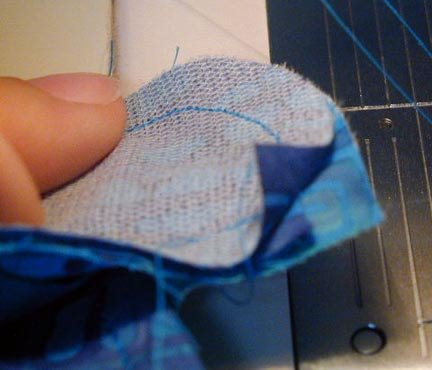
Always check to make sure you haven’t accidentally caught anything you shouldn’t have in your stitching before trimming.
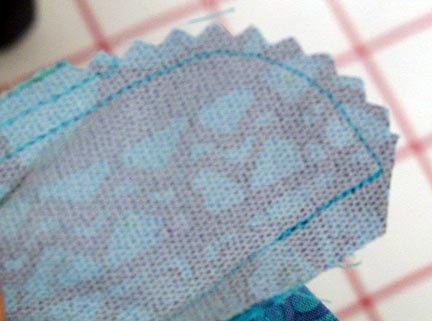
I simply cut across the corner and then trim the curve with pinking shears. When using 1/4″ seam allowances, it isn’t necessary to do any additional trimming.
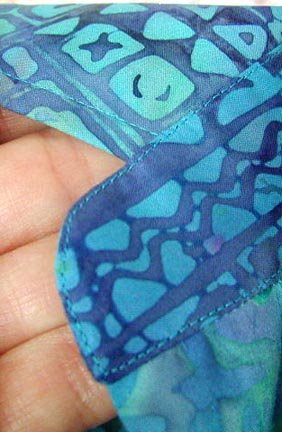
The front edge is nice and neat from the outside.

And from the inside.
The last step is to edge stitch around the band, closing up the remaining neck edge at the same time.
That’s it! This entire process, with practice, should take you no more than a few minutes and will give you a great result every time. I hope you’ll give it a try.

Thank you Gigi for such a well-illustrated and clear tutorial. It makes me want to make a shirt right now!
great tutorial as ever…. As soon as I finish the 234423324 other projects for me, I will come to the shirt I promised DH 🙂 and will try out your technique
Gigi, I am hoping that you do in fact receive this email. I just love your blog and have read every time you have posted back to this one which you posted in May 2006 ( it is now May 2010). I am about to sew a collar/stand and from your instructions just need further clarity….In part 1 you state to ‘make up the collar’ … the collar itself, do I sew these 2 pieces together with a 1.5cm seam allowance (5/8″ inch)? I am going to ditch my instructions and follow yours instead, which look much easier….hopefully you will get this email. Many thanks
Lexley